Heat Damage: How I Straighten My Hair To Prevent Heat Damage
Although natural, I occasionally flat iron my hair. Before taking on this challenge. I did some research on how to avoid getting heat damage, breakage and split ends. Moreover, I did a henna treatment on my hair (post about that coming soon). With the Henna treatment, I discovered that I needed to moisturize my hair every day.

Personally, I don’t have the time, energy or patience (LOL) to deal with my natural hair every day. How about you? Just in case you have the same concerns with your natural hair I do when flat ironing or straightening your hair, I am sharing my hair straightening regimen. I hope it will help you avoid heat damage and reduce the time spent caring for your natural hair.
My Before Straightening Regimen:
Step 1 – Shampoo. I use a clarifying shampoo that is sulfate-free. Clarifying shampoos are great at removing excess oils and it gets my hair squeaky clean. For my wash and go, I generally use shampoo bars. But, when I straighten my hair, I need it to be free of oil. The shampoo bars I make contain shea butter and mango butter, so some oil gets left behind after rinsing.
Step 2 – Condition. To save time, I skip this step and go straight to the Deep Conditioner.
Step 3 – Deep Condition. To get my natural hair bone straight I need my strands to be deeply moisturized. This is not the time for me to use my homemade deep conditioners. I need a product that protects my natural hair. For deep conditioning, I have found that KeraVada Moisture Max DP – Deep Conditioner and KeraVada Super Ego oil are the best! But I have also used Organic Root Stimulator Olive Oil Replenishing Pack and it works fairly well.
Step 4 – Dry. To dry my natural hair, I use a t-shirt that is 100% cotton. Using a T-Shirt helps maintain moisture and it helps protect my cuticles and reduces fizziness.
My Straightening Technique:
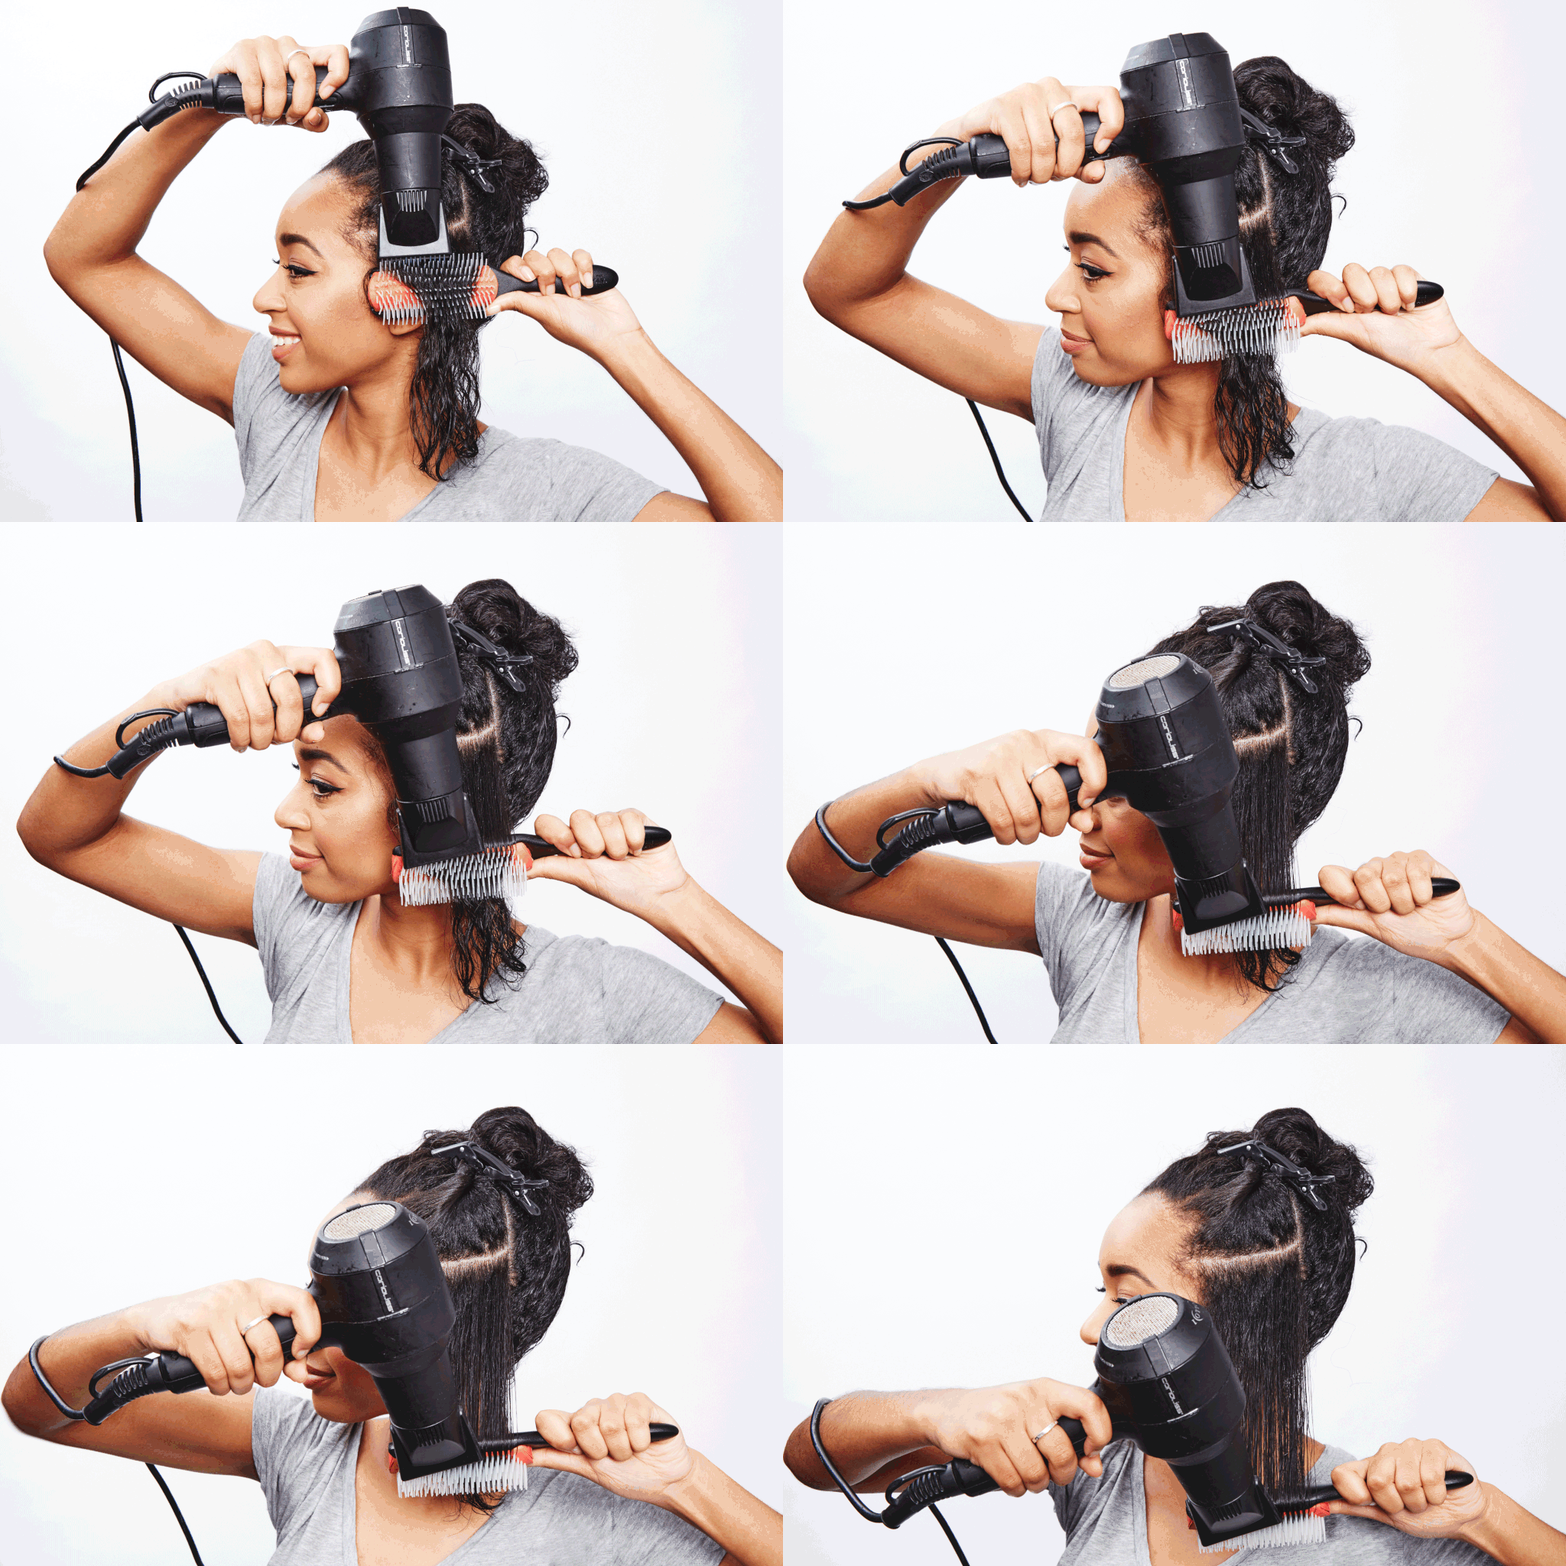
Step 1 – Blow Dry. I dry my natural hair section by section as straight as I can get it. The straighter you get your hair while blow-drying it, the straighter your end results will be. I use the Gold N Hot Professional Blow Dryer. It can be purchased at Sally’s, Walmart, Target and even on Amazon for you online buyers.
To blow dry my natural hair, however, I prefer to use my round bristle brush. I have attempted to blow dry my hair with the Denman brush and I have even tried using the comb attachment to my blow dryer. But my bristle brush seems to be most effective for blow drying my natural hair. The comb attachment to my blow dryer seemed to pull out a lot of my hair and the Denman brush bristles tend to slide out when my hair is wet.
Step 2 – Heat Protectant. To protect my hair from heat damage, I use Garnier Fructis Anti Frizz Serum. I have no complaints with the Garnier Fructis Anti Frizz Serum and it smells nice too! You can use what ever anti-frizz serum that works best for you, but never add heat without a heat protectant.
Step 3 – Flat Iron. I turn my flat iron to about 400 degrees (yeah, I know… I like to live on the wild side sometimes) and I use a small rat tail comb in front of the flat iron to get my ends straight as possible. 1-2 passes are all it takes. 
Warning the trade-off for bone straight hair is moisture. Furthermore, excess heat can cause serious heat damage. How hot to set your flat iron depends on your hair type. The following are safe temperatures for natural hair, according to thirstyroots.com
- Thin to Fine Hair – Below 360 (°F)
- Normal to Medium Hair 360 – 390 (°F)
- Coarse Hair 360 – 410 (°F)
It takes me about 45 mins. to 1 hour to flat iron my hair with this new method. It used to take me 4 hours to blow dry and flat iron my hair and it would revert back in 5 minutes.
I wear my hair straight for about 2 weeks in buns, ponytails and other lazy low manipulation styles. To keep my edges tamed and ends feeling soft, I apply Shea Avocado Butter to the length of my hair every night or morning.
Until Next Time, Happy Hair Straightening
The post Heat Damage: How I Straighten My Hair To Prevent Heat Damage first appeared on Demetrion Ware.